As you may know already, I have jumped on the burlap band wagon! I love the stuff. It is so diverse, the texture is amazing, AND it's super easy to work with! Oh another bonus: It is pretty cheap. So I first made some burlap curtains for my kitchen that you may see
here. After that little project I was hooked. Not to mention all the cool kids are doing it:
Ballard Designs
Restoration Hardware
So I kind of did a little bit of a morph of these pillows. I love them both, so I figured I would really adore them as one. So here is my hand painted burlap tutorial:
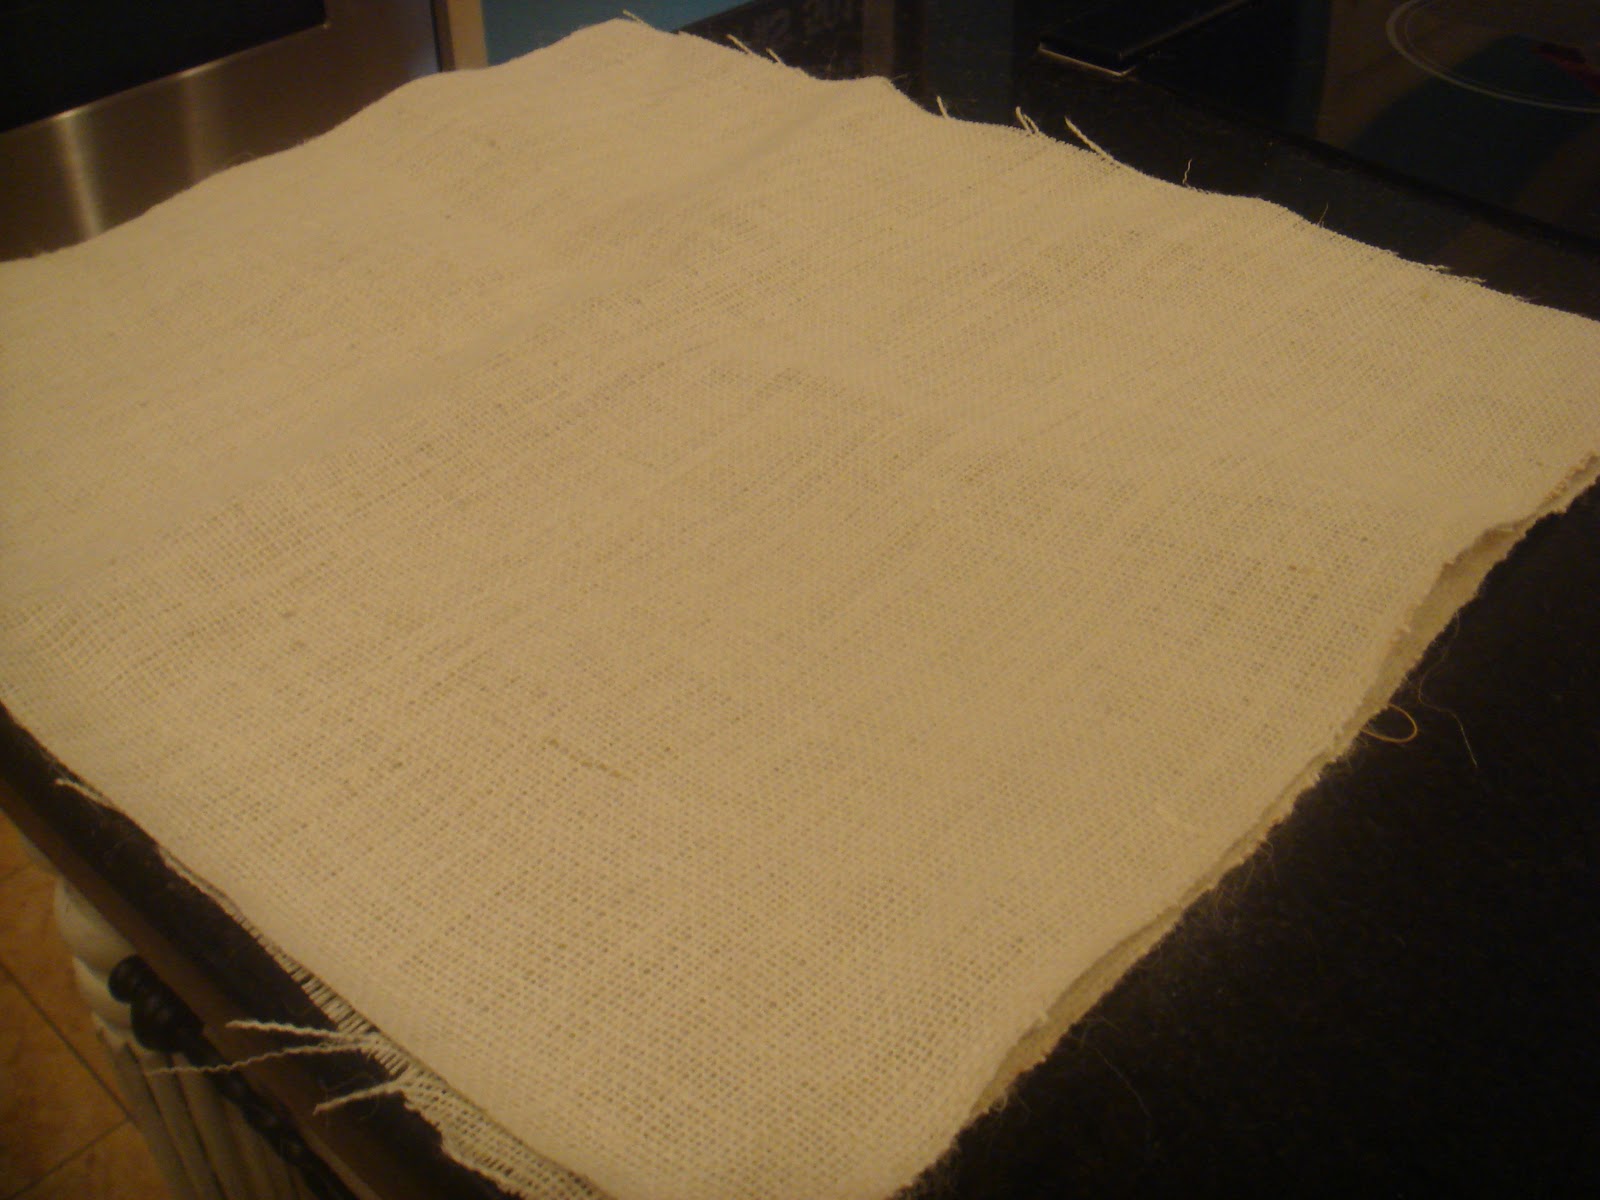
I first made my own pillow insert because they are easy to make and too expensive at hobby stores. So here is what I did. I cut two pieces of fabric in a square
I then did a zig-zag stitch around three of the sides
I then stuffed the pillow and closed the last opening
Doesn't need to look purty cause we are going to cover this bad boy.
Ok so on with the burlap. I cut two more squares, slightly bigger than the pillow inserts. I then did a zig-zag stitch around the edges of each piece individually. Burlap shreds like crazy. Problem solved!
I then took my handy dandy stencils and put in some words with fabric paint. Then I taped off three stripes and painted that as well.
Loving this so far? Cause I am! Next I took four strips of cream fabric (twice the length of each side of the squares)
I made my top ones thicker than my bottom. I then folded the fabric over and made a seam with a stitch length of 4.5 ( I have a Brother sewing machine). You then take the top stitch and pull, pull, pull, until the fabric is gathered and it "ruffles"
Do this until it is the desired length. You want about a quarter of an inch extra on each side. This is for when you are finished with all of the sides and you will sew the ruffles together on the corners. Now pin the ruffle between the two fabrics and do a zig-zag stitch:
Do this for three sides and insert pillow form before closing the last side:
Now you are going to take the corners of the ruffles and fold them under to sew them together:
Cut off the excess ruffle and you are done! yaaaaaa! Super cute pillow below:
Oh I really really LOVE this one. I think it needs a burlap friend, don't you? Off to make some more pillows!

Check out where I like to
party


20 comments:
Oh my goodness!!!!! I think your pillow looks like it came from a big name store! Beautiful!!! I do think he needs a friend though :) Have a super creative weekend!!!♥
So pretty!! I just love ruffles. And burlap. ;) You should link this up over at Homebody's Knock-Off party!! Thanks for sharing. :)
I love that! I'm also digging that zebra table/stool in from of your couch. I'm a little nuts for zebra print right now...you should see my classroom!
beautiful pillow! the ruffles and burlap combination is perfect!
REALLY pretty!! Great job! Just popping in from TT&J :)
I really like your version! The juxtaposition of the rough burlap and the "refined" ruffle is perfect.
Thanks for joining my party!
Looks fabulous, good job!
www.dashing-home.blogspot.com
Wonderful tutorial, and beautiful job on the pillow!!! Thanks, I love a great tute. :) Your kitchen re-do is BEAUTIFUL and I love love love the apron that was featured on Mississippi Mud Pie's Friday Favorites. That is what lead me over to your blog and glad I made it here. LOVE LOVE LOVE your blog and I am now your newest follower, can't wait to read more!!! Please pop over for a visit soon!!!
I have a party on Wednesday called Anything Goes, I would love it you shared this.
http://typeadecorating.blogspot.com/
Thanks Tammy
Great job on your burlap pillow! Thanks for stopping by my blog and leaving a thoughtful comment. I'm a follower now and I hope you'll choose to do the same for more mutual blog visits :)
I love that. I'm seriously going to go get some fabric paint tomorrow and make myself one. Ill let you know how it turns out :) I'm following your blog now. Come check out mine if you have time!
Christine @ krazycraftylady.blogspot.com
So cute... I made a pillow this week as well! My first, so it was easy. But I love yours!
I love it. I really need some more pillows in my home. Don't forget to join me for More The Merrier Monday and link up all of your great projects.
http://diyhshp.blogspot.com
I love the way this turned out! I need to make some as well. I have a sneak peak feature linking back to you scheduled for this afternoon!
Denise
Extreme Personal Measures
CUTE! My boyfriend works for a coffee roaster and they gave him some actual coffee bags. I'm planning to make pillows with them. But now ill have to add ruffles for sure.
Great idea!
www.foundintheali.blogspot.com
Thanks for visiting me at Cool Home Creations! I LOVE the pillow you made! I too can't get enough burlap! Great detail with the stripes and ruffles!
http://coolhomecreations.blogspot.com
Ahhhh, very nice! I just purchased some burlap. Might give one of these a try.
xo,
Sena
SOOOOOO CUTE! Love it, I need to stop being lazy in this department and get to the pillow making!Thanks for visiting!
www.lifewithoutwhiteout.blogspot.com
This is so great. I love it! Thanks so much for sharing. Tina
Very nice! I love your version! How creative to make your own inserts too. What do you stuff them with?
Tracie
Post a Comment