Have you seen this cute pumpkin patch made out of 4x4s on Pinterest??
If not check it out
HERE, after you read and comment on my post first of course ;) I decided to make some of my own. Check out her tutorial on how to make the gauges in the wood and how to attach the stem, links below. Good stuff!
So I bought a 10ft 4x4 and had it cut in 6 pieces. Two 13in, two 15in, and two 18in. I got a square dowel (can a dowel be square? I don't know, but we will go with square dowel. Okay?) I also had that cut in six 5in pieces. All of these cuts were done by Home Depot. They are so nice to help me in my project needs!
Supplies needed:
10ft 4x4 cut in six pieces
square dowel cut in six pieces
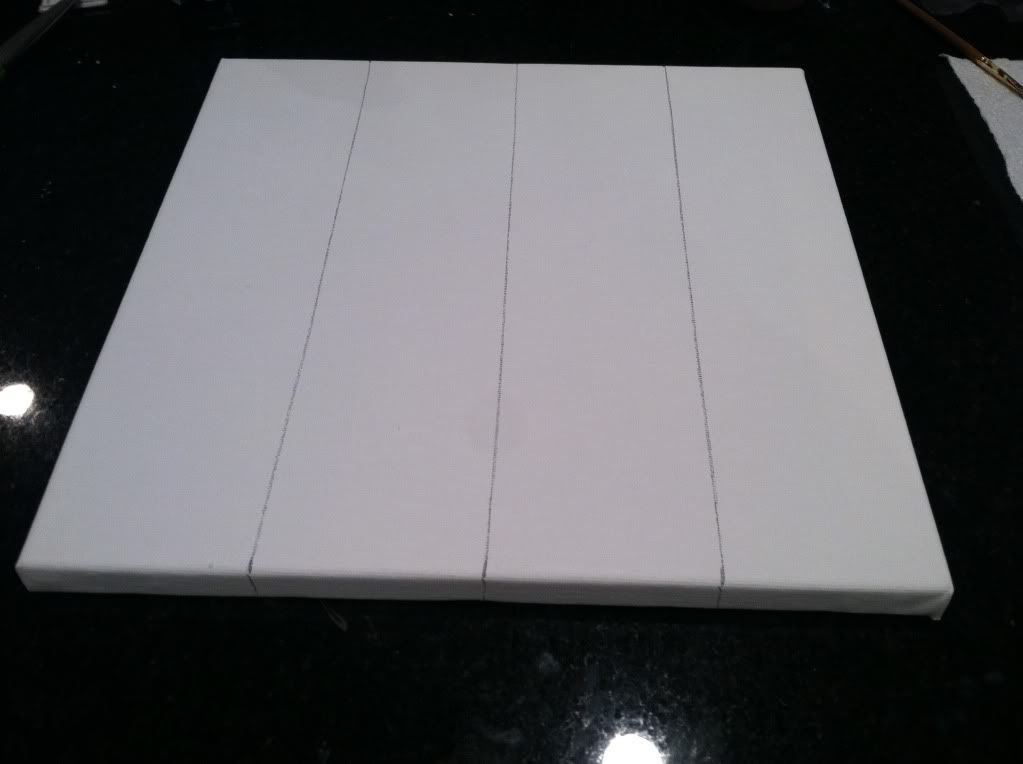
2 rectangular wood plaques (found at michaels for .99)
orange acrylic paint
green acrylic paint
brown acrylic paint
jute
Sander
hammer
nails
flat head screw driver
First you are going to make the gauges in the wood. So check out the video tutorial
HERE ( I used a flat head screw driver instead of the chisel). Then sand down everything really well. Clean off and paint orange. When dry, sand again on the edges and where you made the gauges. Now go
HERE to see how the stems are added on, very cool trick.
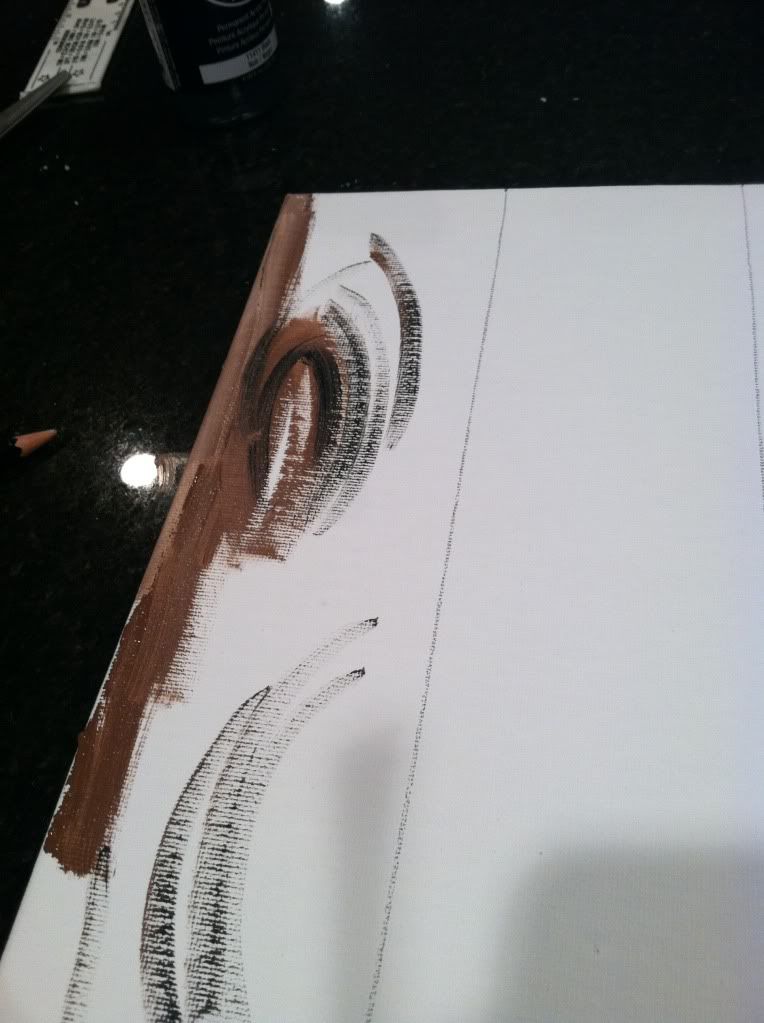
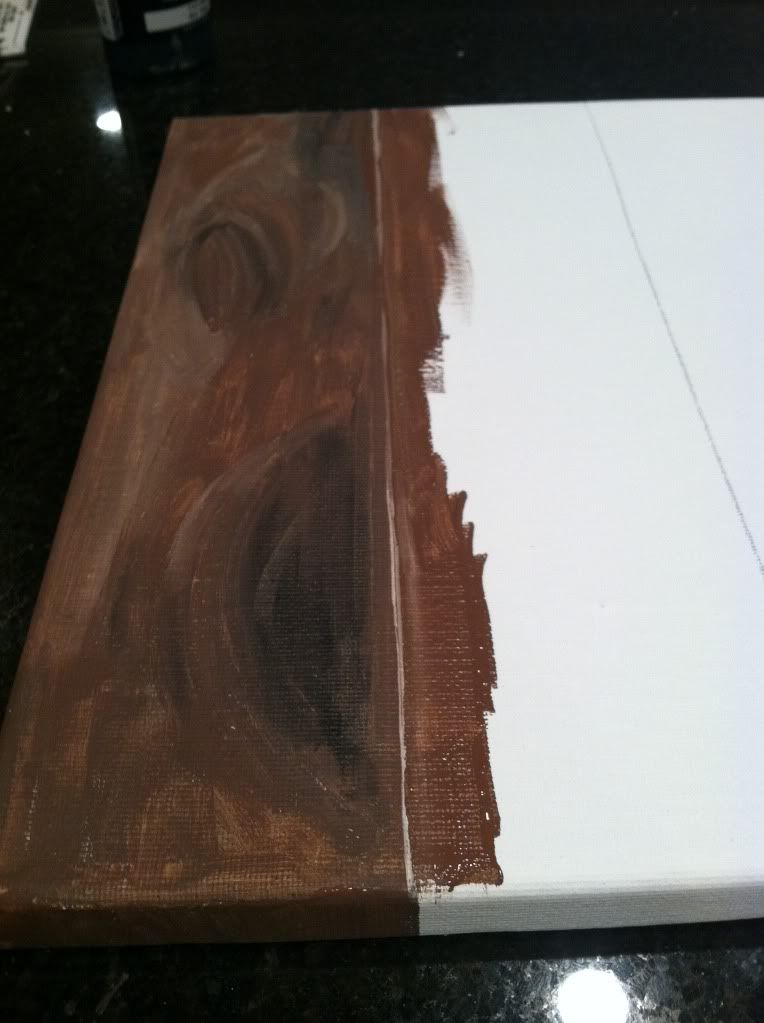
Now paint your stems brown and sand the edges of those too. Then take your rectangular plaques and paint them brown. Add pumpkin patch and happy fall, or whatever you are so inclined to write, using a stencil. When dry, lightly sand to give it a worn look. Now drill a hole in each plaque on the top middle. String jute through the hole. Set aside. Paint on leaves and vines with the green paint (this isn't what the original did, so take it upon yourself to do what you like best). Now wrap three blocks each a couple times with jute and you are done!
I found some hayish looking stuff at the dollar store and decided to tie a piece to the top of each one too.
Aren't these so cute! I am so happy with them. They were also pretty cheap to make and I really enjoyed making them. Ethan and Alexa even helped paint the orange part. They thought that was so cool. They love it when I involve them in projects. So fun!
Michelle
![]()


![]()
<


