It was Alexa's first day back to school today. It was bittersweet. I am happy to be on a schedule again, but I am going to miss our summer days together. I will write more about today later in my family blog.
On to the goods! Alexa has been bugging me since school let out in June to make her a bag for school. I kept telling her that we would the week before school started. That's exactly what we did last week. I took her to Jo-Anns and let her pick out two different fabrics and some buttons. We looked at pictures upon pictures of inspiration on Pinterest and finally decided on what she wanted.
So pretty! I love my girl!
Supplies needed:
1 yard of main fabric
1 yard of coordinating fabric
3 yards of piping
1/2 yard of fabric to cover piping
coordinating thread
Two buttons
First cut out the pieces needed. I made this rather large. Cut out two pieces of this in both fabrics. You should have four pieces
Cut the tops off the front and back pieces of the outside fabric. Cut where it starts to curve out. This is where your piping will go
Now cut out the two sides and bottom. Measure by using the main piece as a guide. Make the side pieces the length of the front piece and the bottom the width of the bottom of the front piece. Do the same with the other fabric. I made them about 6 inches wide.
Make piping. Measure across where you cut off the top of the fabric. You will need two of these for from and back. Then measure around the bottom and side of front piece, cut a strip of fabric in that length. Make piping out of the three strips of fabric you cut.
Take the large front piece and do a straight stitch across the very top using a high length. Then you will gather the fabric by pulling the top stitch. Iron down when you have the look you want. do this for both front and back pieces
Attach piping, top piece and large bottom piece of front fabric on the back sides:
Stitch down, flip over, and iron down
Attach piping around the outer edge of the front now:
Attach the sides:
Now attatch the bottom and sew the sides to the bottom:
Attach the back to the front (which already have the sides and bottom sewn on). Make sure it is inside out.
Now you have the outsideportion almost finished
Make two straps by cutting two long strips of fabric that are about 10 in wide:
Fold in half inside out and stitch. Turn right side out when done:
Fold over rough edges and iron down. Attach to purse and sew in place:
Hand sew on the buttons. Repeat process for back strap minus the buttons
Now onto the inside of the bag. You should have the exact piece you had for the outside, except you won't be cutting the tops off.
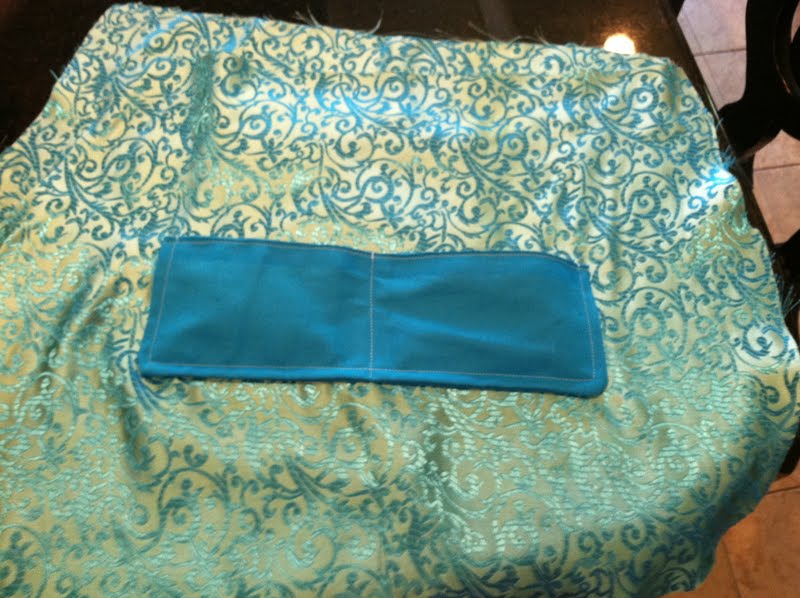
Make as many pockets as you want. I made three. Two for one side and one for the other:
Sew pockets on. Make sure to back stitch a lot!
I made the larger pocket into two pockets by doing a stitch down the middle, again back stitch a lot.
Put bag together the same way you put outside portion together, minus the piping. Also be sure you leave an opening on one side of the bottom piece:
Put outside portion of bag inside the inner portion of bag. The front of bag should be facing the pockets. You will then sew all around the top of the bag and pull the outer part out by going through the hole you left in the bottom. Confused?? You can look at my tutorial
HERE or I will definitely reply to any questions by email.
After you pull bag through, you will sew the bottom closed and now you have a beautiful school tote:
I added one of her flowers to the bag. It's a pin so she can change them out. As you can see she decided on a different flower for the first day of school:
Michelle
![]()


8 comments:
Man, I wish I could sew! She is gorgeous and not only do I love her bag, but her outfit is darling! What style :)
I love this bag!! I love the idea of trading out the flowers.
If I could sew I would make this in Kelly Green! I love love love it!!
I need to add this to my Pinterest!!!
xx-Kristyn
Oh, that's so cute!! Thanks for the tutorial.
Esther.
I love that you made her school bag! I'm sure that made her first day even better and more special!
I love the bag! It turned out so cute!
I would love if you would come share with my week long link party at The Crafty Blog Stalker! http://thecraftyblogstalker.blogspot.com/2011/08/blog-stalking-thursday-4.html
This is so cute!
What a great tote. If you get a chance I would love you to link your tote bag up to More the Merrier Monday. It lasts through Wednesday so you have plenty of time to stop by. See you there. http://diyhshp.blogspot.com/
Post a Comment